
Quick start
This runs the whole chain on one computer, with no sign-in, no server and no permissions to grant: the gateway in development mode, and an agent that streams a moving test pattern through the real hardware encoder. It takes a few minutes, most of them compiling.
Before you start
Section titled “Before you start”- Git, Rust (rustup installs the toolchain the
repository pins in
rust-toolchain.tomlby itself), Bun and CMake (the agent’s Opus library is built with it). - On a Mac: a current Xcode, with the macOS 26 SDK that the agent’s ScreenCaptureKit bridge needs.
- On Windows: Media Foundation, which is part of Windows except on the N editions (install the Media Feature Pack) and Windows Server (the Server Media Foundation feature).
The gateway also runs on Linux. On Linux the agent serves the terminal and files only, without a screen (Linux agent); for the screen it needs a Mac or a Windows PC.
Run it
Section titled “Run it”-
Get the code:
Terminal window git clone https://github.com/Thijmen/remoted.gitcd remoted -
Build the viewer. The gateway serves it from
viewer/dist.Terminal window cd viewerbun installbun run buildcd .. -
Start the gateway in development mode:
Terminal window cargo run -p rd-gateway -- --dev --assets-dir viewer/dist--devturns off all authentication and listens on localhost only. The portal is now athttp://127.0.0.1:8080, and agents connect tows://127.0.0.1:8081. -
In a second terminal, start an agent with the test pattern:
Terminal window mkdir -p /tmp/rd-devprintf 'gateway_url = "ws://127.0.0.1:8081"\nmachine = "mbp"\n' > /tmp/rd-dev/config.tomlRD_AGENT_TOKEN=rd1.mbp.dev RD_AGENT_LOG_DIR=/tmp/rd-dev/logs \cargo run --release -p rd-agent -- run --config /tmp/rd-dev/config.toml --source syntheticA config file and log folder of its own keep this test agent away from the files of an agent that may already be installed on the Mac.
Terminal window $env:RD_AGENT_TOKEN = "rd1.pc.dev"cargo run --release -p rd-agent -- run --gateway ws://127.0.0.1:8081 --machine pc --source syntheticWindows runs one agent per session: on a PC where the rd agent is installed and running, this one refuses to start.
In development mode the gateway accepts any token.
--source syntheticneeds no Screen Recording permission. -
Open http://127.0.0.1:8080, click Connect on the machine’s card, then Connect again.
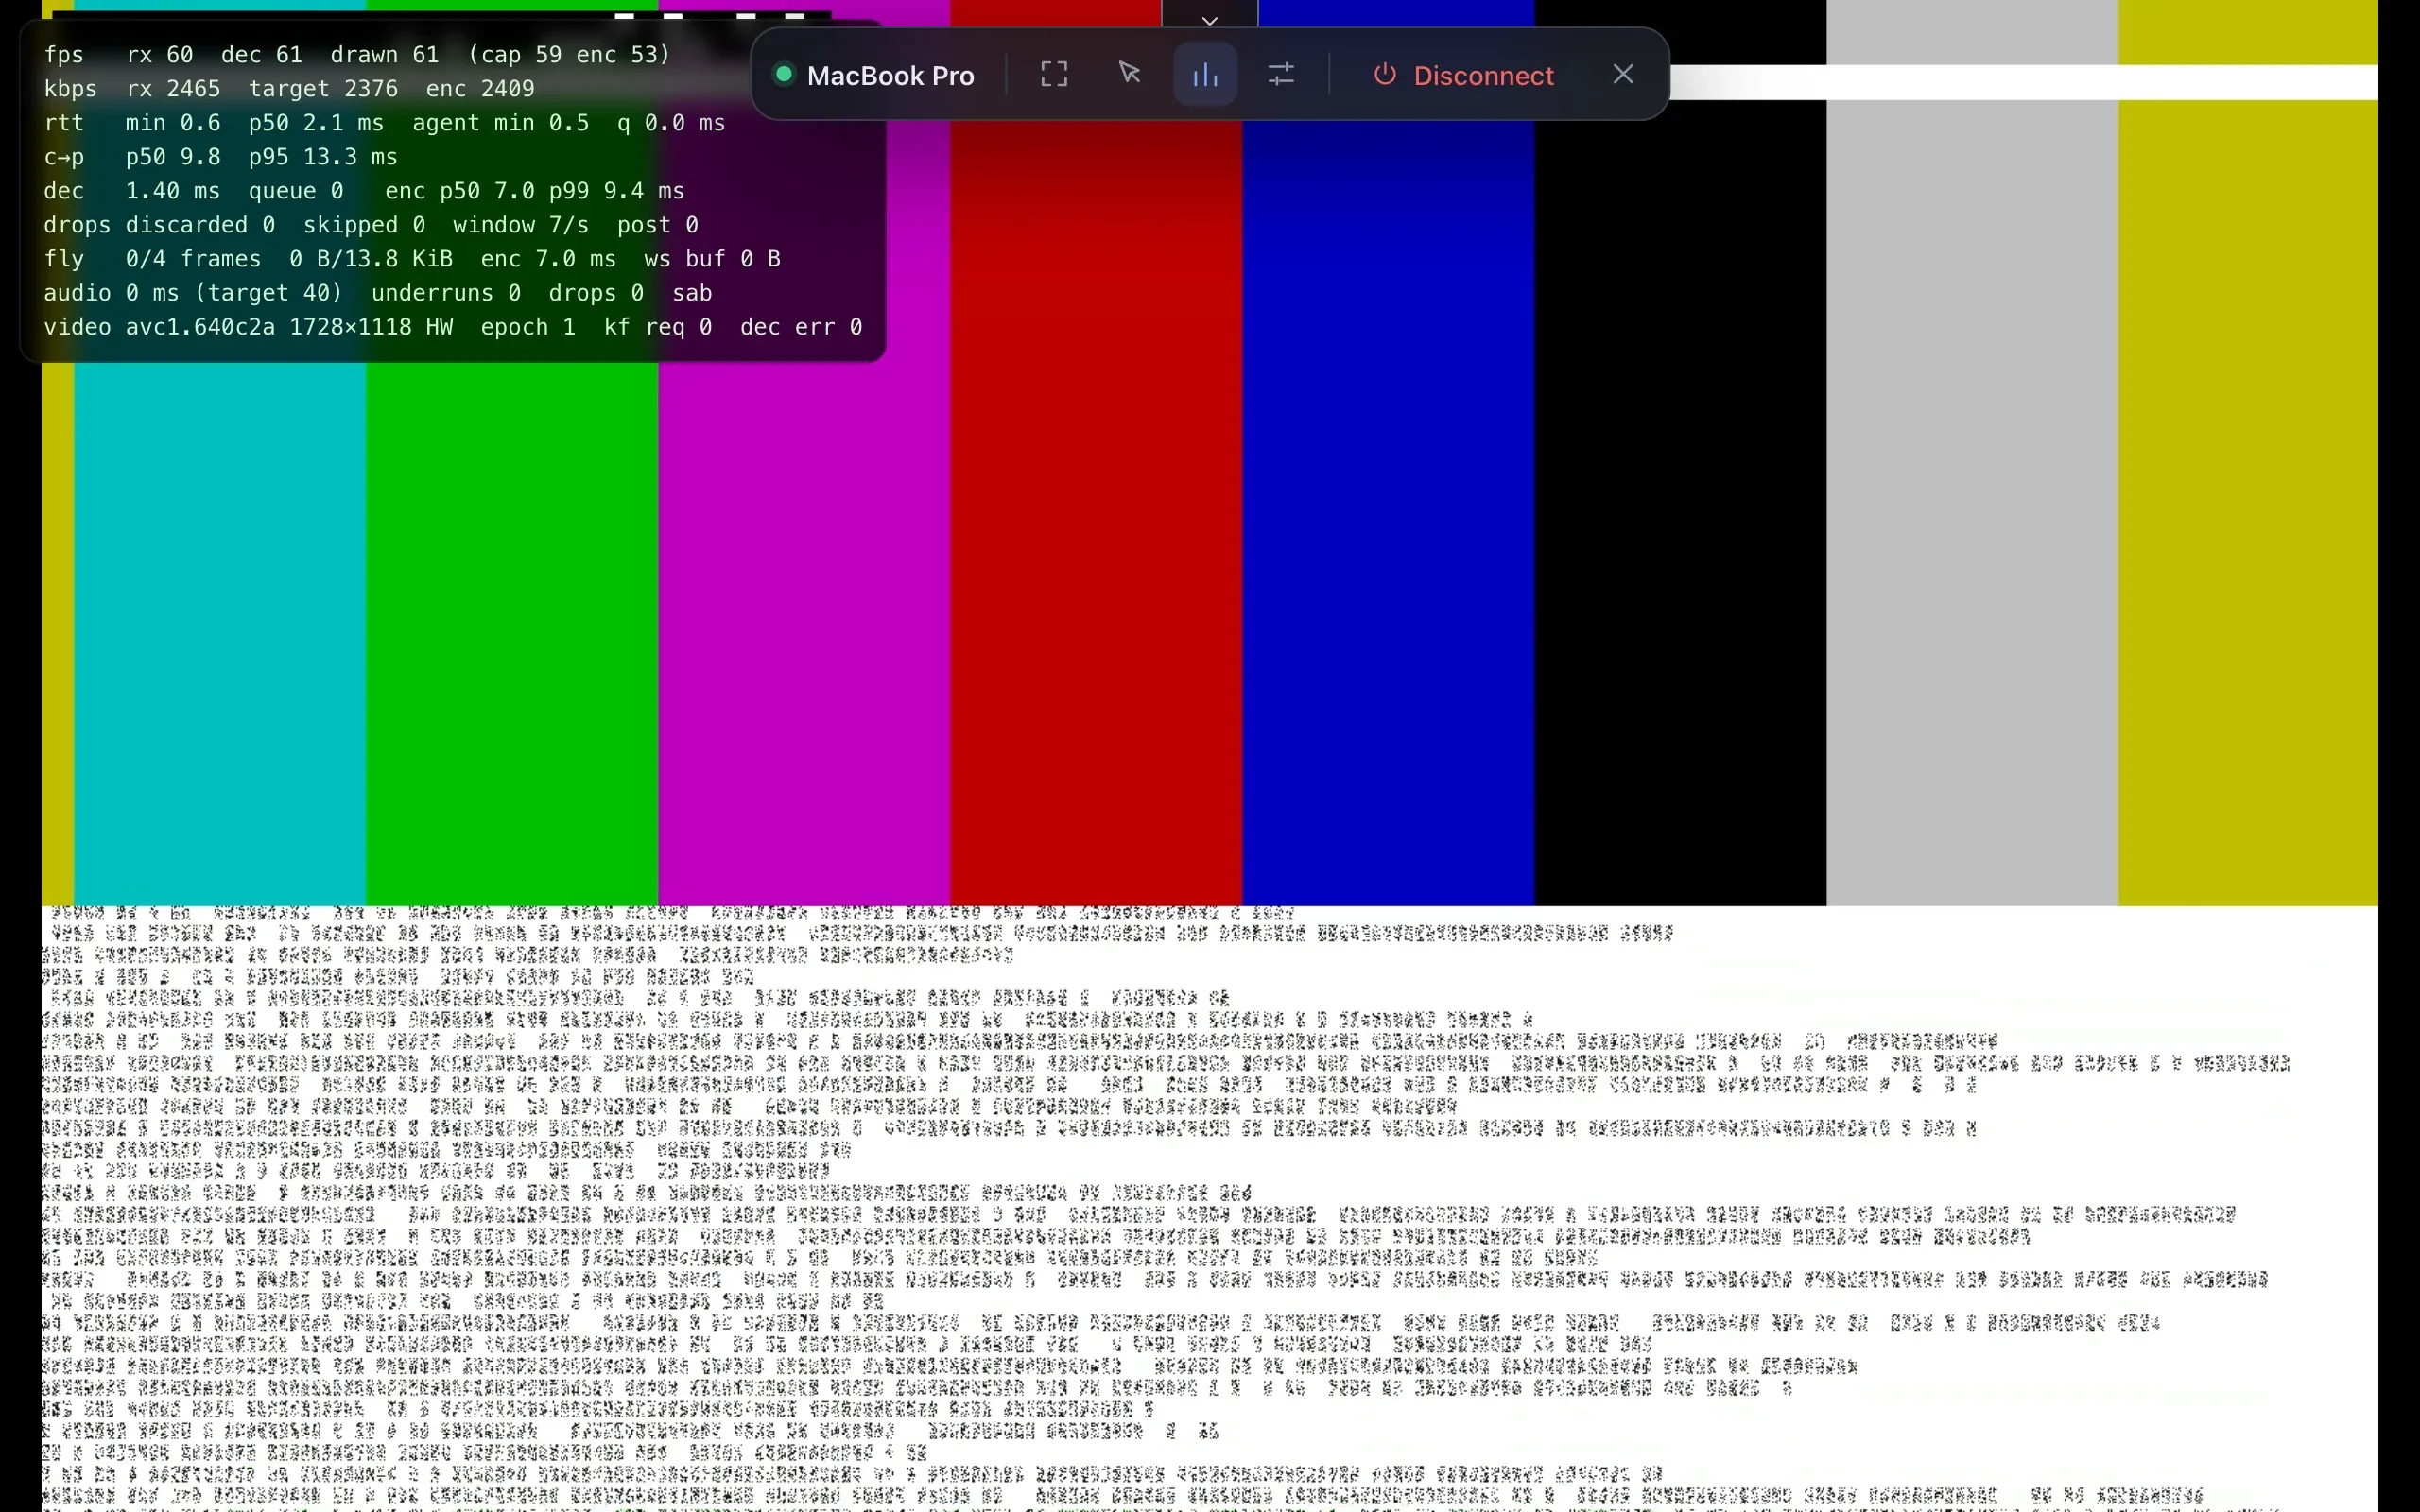
You should see the test pattern, moving at 60 frames per second. Press Ctrl+Alt+Shift+H for the stats overlay, or click the small tab at the top of the picture for the session menu.
Try a bad network
Section titled “Try a bad network”The gateway can play a slow link between the agent and the viewer (development mode only). Stop it and start it again with a bottleneck narrower than the stream, plus 50 ms of extra delay:
RD_CHAOS=bw_kbps=1500,delay_ms=50 \ cargo run -p rd-gateway -- --dev --assets-dir viewer/dist$env:RD_CHAOS = "bw_kbps=1500,delay_ms=50"cargo run -p rd-gateway -- --dev --assets-dir viewer/distThe agent and the viewer reconnect by themselves. In the stats overlay, target falls to what
fits, window counts the frames the agent skips before encoding them, and c→p (capture to
paint) stays level instead of growing: fewer frames, but current ones. How it
works explains why.
Stream the real screen
Section titled “Stream the real screen”- Windows: leave out
--source synthetic. Windows asks for no permissions. - macOS: Screen Recording and Accessibility belong to an app, not to a binary in a terminal,
so build and sign
RD Agent.appfirst. See Mac agent → Local development.
Going to production
Section titled “Going to production”When you want to use rd for real:
-
Run the gateway on a server or cluster, behind a reverse proxy that terminates TLS on port 443, with two host names:
Host Proxied to Sign-in rd.example.com(portal and viewer)the gateway’s port 8080 forward auth (Authentik) that sets X-authentik-emailrd-agent.example.com(agents)the gateway’s port 8081 none: agents bring their own tokens Port 9090 (
/healthz,/metrics) stays internal. The settings you need at least:Terminal window RD_PUBLIC_ORIGIN=https://rd.example.com # the portalRD_ALLOWED_EMAILS=you@example.com # who may sign inRD_STATE_DIR=/var/lib/rd # persistent, for Add deviceRD_AGENT_PUBLIC_URL=wss://rd-agent.example.com # in setup codesEverything else is in Gateway.
-
Add each machine in the portal (Add device), and install the agent at the machine with the setup code: Install an agent has the commands to paste for macOS, Windows and Linux. More on machine ids and tokens: Devices.
-
Optionally, install rd Desktop on the computers you connect from.